C# Facade Integration
This guide explains how to integrate the TPSDK facade into a Visual Studio C# solution using .NET 10 MAUI.
These steps are intended as a reference—there are often multiple ways to achieve the same result.
.NET MAUI Framework
TPSDK is built on .NET Multi-platform App UI (.NET MAUI), Microsoft’s framework for building cross-platform native mobile and desktop applications.
The current release is based on .NET 10 and supports:
- Android (API level 21+)
- iOS (12.2+)
- Windows (10.0.17763.0+)
Note: Xamarin and Xamarin.Forms support has been discontinued as of this release.
Getting Started with .NET MAUI
Create a New Project
Create a new solution in Visual Studio using the .NET MAUI App template.
The template or app style does not matter for integration—TPSDK works with any MAUI project.
Your project will automatically target multiple platforms (Android, iOS, Windows) in a single codebase.
Configure NuGet Package Source
TPSDK is distributed as NuGet packages but is not hosted on the public NuGet.org repository. You need to configure a local NuGet package source.
Steps to add a local NuGet source:
- In Visual Studio, go to Tools → Options → NuGet Package Manager → Package Sources
- Click the + button to add a new source
- Set the Name to something like “TPSDK Local”
- Set the Source path to your local TPSDK NuGet folder
- Click Update and then OK
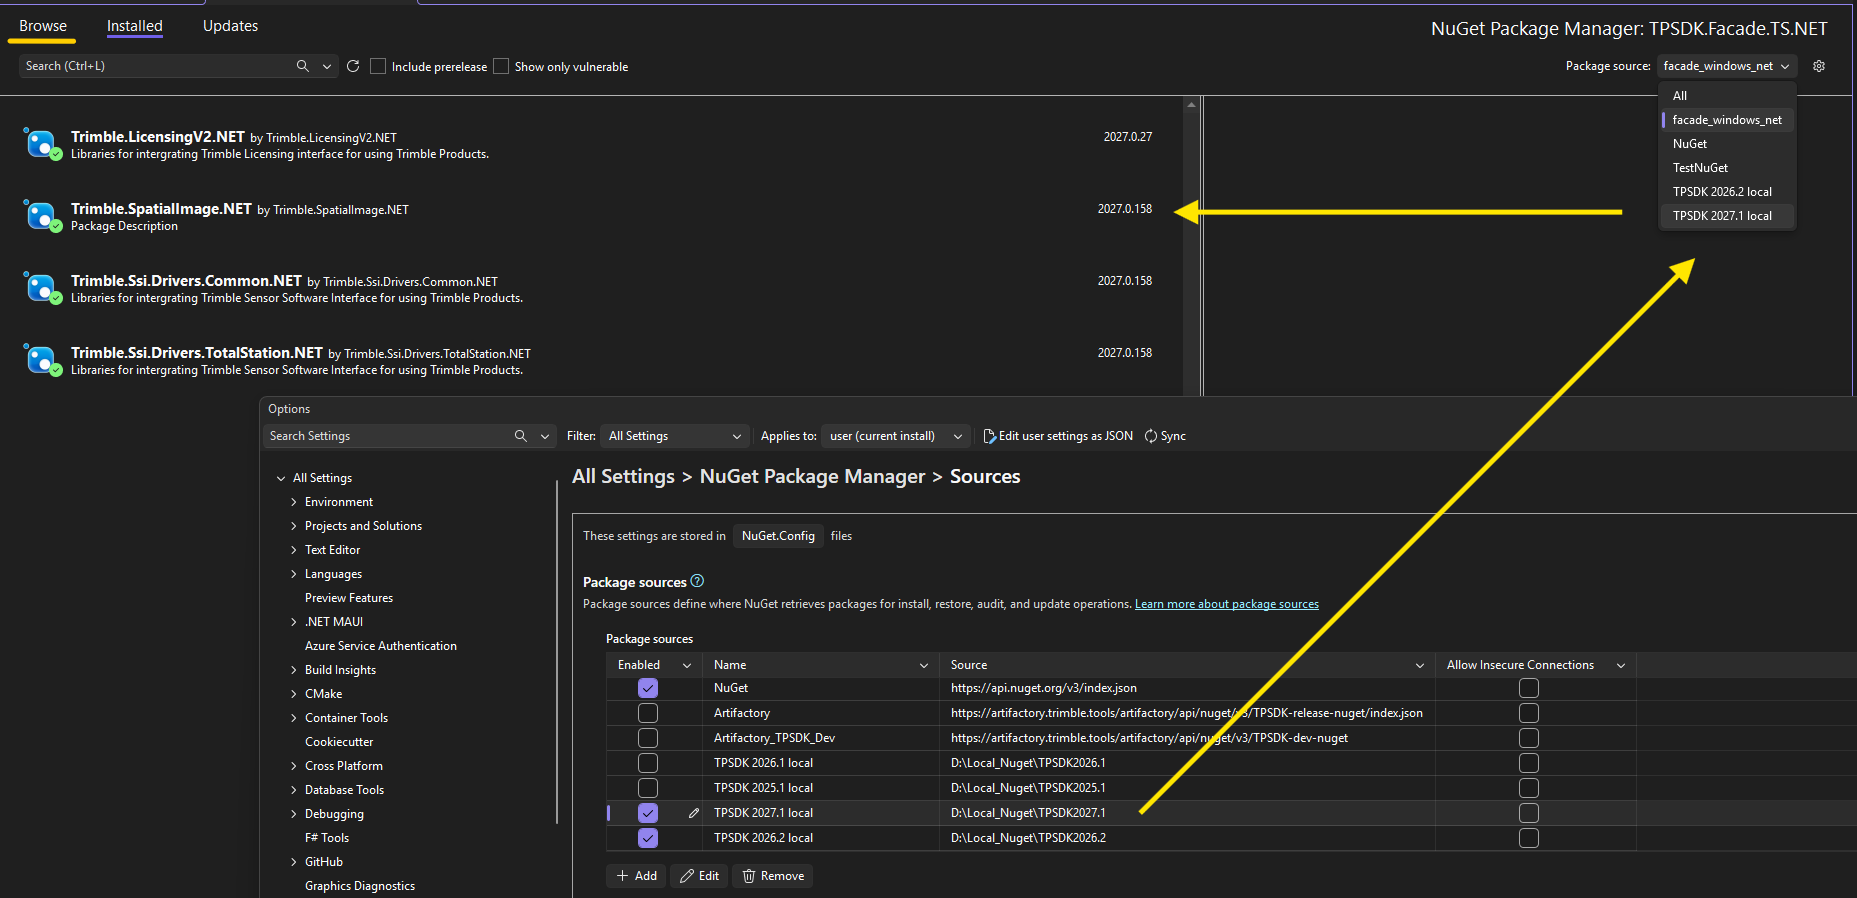
Install TPSDK NuGet Packages
Once your local package source is configured, install the required TPSDK packages:
Required NuGet Packages:
Trimble.Ssi.Drivers.Gnss.NETTrimble.Ssi.Drivers.Common.NETTrimble.LicensingV2.NETTrimble.TDDTransformation.NET
Installation:
- Right-click your project and select Manage NuGet Packages
- Select your local TPSDK package source from the dropdown
- Browse and install the packages listed above
The NuGet packages contain all platform-specific native libraries (ARM, ARM64, x64) and will automatically be included in your build.
Add the CatalystFacade (Optional)
The TPSDK includes a facade layer that simplifies common operations. You can either:
Option A: Reference the facade project directly
- Add the
CatalystFacade.NETandCatalystFacade.Mauiprojects to your solution - Add a project reference to
CatalystFacade.Mauiin your MAUI app (CatalystFacade.Mauialready referencesCatalystFacade.NET) - This allows you to customize and extend the facade as needed
Option B: Use TPSDK APIs directly
You can also use the TPSDK APIs directly without the facade layer for full control.
Using the Facade
Once the packages are installed and references are configured, you can initialize and use the facade in your MAUI application.
Basic Initialization
Initialize the facade in your application code:
using CatalystFacade.Maui;

// Initialize the facade with your application GUID.
// Pass Android context on Android; for iOS/Windows this can be null.
var catalystFacade = new CatalystFacade.Maui.CatalystFacade(myAppGUID, platformContext);
Platform-Specific Context
On Android, pass an application/activity context. The MAUI demo uses a platform service to provide this context:
var platformContext = AppContextService.GetPlatformAppContext();
var catalystFacade = new CatalystFacade.Maui.CatalystFacade(myAppGUID, platformContext);
where myAppGUID is the application identifier provided by Trimble.
Driver Initialization
Before using the receiver, initialize the driver:
var result = catalystFacade.InitDriver(DriverType.TrimbleGNSS);
if (result == DriverReturnCode.Success)
{
    // Driver initialized successfully
    // Connect to receiver and start receiving positions
}
Key Features
The facade provides simplified access to:
- Position updates - Subscribe to real-time GNSS positions
- Satellite information - Access satellite count and signal quality
- RTK/RTX status - Monitor correction service availability
- Connection management - USB, Bluetooth, and network connections
- Subscription handling - Integration with Trimble Mobile Manager
- Receiver configuration - Antenna height, datum transformations, output rates
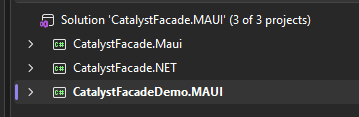
Project Structure
The TPSDK C# solution consists of:
- CatalystFacade.NET - Platform-agnostic core facade library (.NET 10)
- CatalystFacade.Maui - MAUI-specific implementations for Android, iOS, and Windows
- CatalystFacadeDemo.MAUI - Sample application demonstrating facade usage
Target Frameworks
| Platform | Target Framework | Minimum Version |
|---|---|---|
| Android | net10.0-android | API Level 21 |
| iOS | net10.0-ios | iOS 12.2 |
| Windows | net10.0-windows10.0.19041.0 | 10.0.17763.0 |
Additional Configuration
Android Permissions
Before deploying your Android application, ensure the required permissions are declared in your AndroidManifest.xml:
- Location permissions - For GPS access
- Bluetooth permissions - For Bluetooth receiver connections
- Network and phone state permissions - For connectivity and licensing flows
Refer to the TPSDK documentation for the complete list of required permissions.
iOS Capabilities
For iOS applications, configure the following in your Info.plist:
- Location usage descriptions - Required for GPS access
- Bluetooth usage descriptions - For Bluetooth connectivity
Windows Configuration
Windows applications require no additional platform-specific configuration for basic TPSDK functionality.
Next Steps
- Explore the
CatalystFacadeDemo.MAUIproject for complete implementation examples - Review the TPSDK API documentation for advanced features
- Configure receiver connections (USB, Bluetooth, or network)
- Integrate with Trimble Mobile Manager for subscription management
For detailed API documentation and advanced usage, please refer to the complete TPSDK documentation on Trimble Community.